Understanding the Check Engine Light is one of the most misunderstood yet critical components of a vehicle’s dashboard. When it illuminates, many drivers are left wondering whether it’s a minor hiccup or a serious issue requiring immediate attention. This guide will help you understand the check engine light, its possible triggers, and how to reset it safely.
What Is the Check Engine Light?
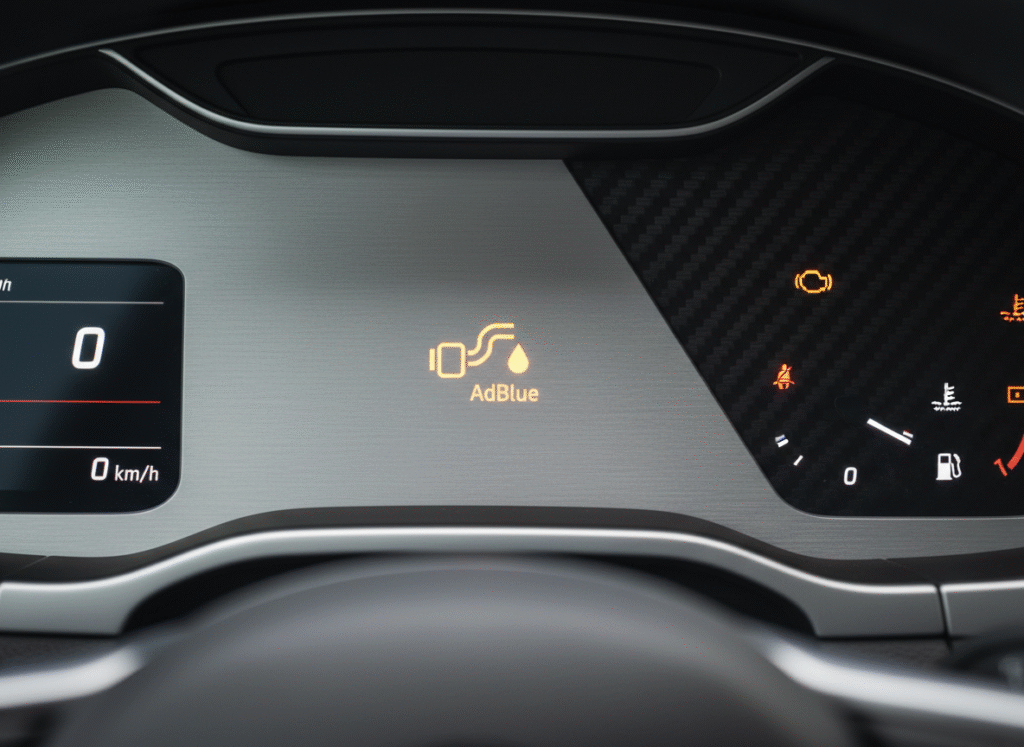
The check engine light, also known as the malfunction indicator lamp (MIL), is part of your car’s onboard diagnostic system (OBD). This system monitors various engine and vehicle performance parameters to ensure optimal functioning. When it detects something amiss, the check engine light illuminates to alert the driver.
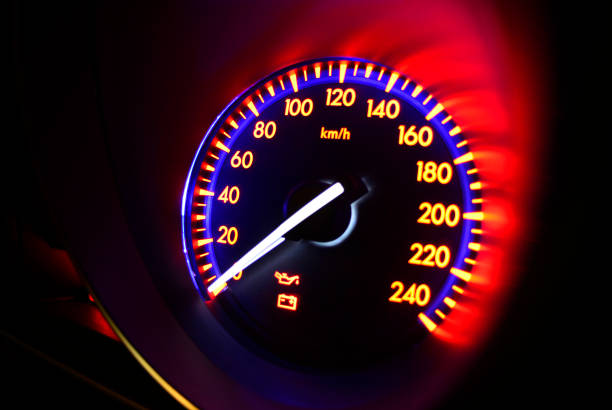
The light may appear as a steady glow or a flashing warning, depending on the severity of the issue:
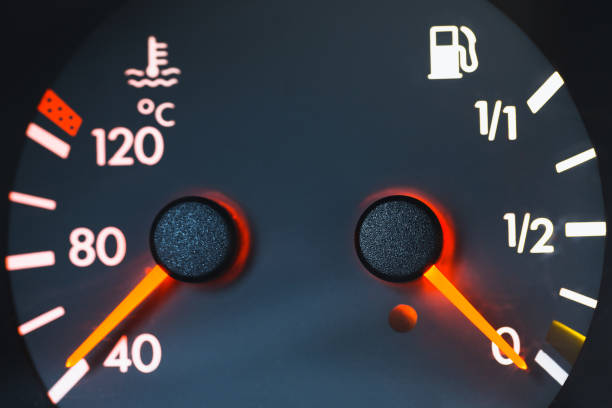
- Steady Light: Indicates a less critical issue that still requires attention, such as a loose gas cap or minor emissions fault.
- Flashing Light: Signals a severe problem, such as a misfiring engine, which requires immediate action to prevent damage.
Common Reasons for the Check Engine Light
Understanding the possible triggers can help you address the issue efficiently. Here are some of the most frequent causes:
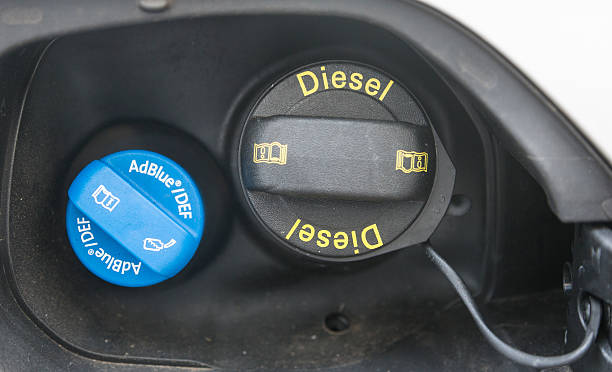
- Loose or Faulty Gas Cap A loose gas cap can disrupt the fuel system’s pressure, causing the light to come on. This is one of the simplest issues to resolve.
- Faulty Oxygen Sensor The oxygen sensor monitors the unburned oxygen in your vehicle’s exhaust. A malfunctioning sensor can lead to reduced fuel efficiency and increased emissions.
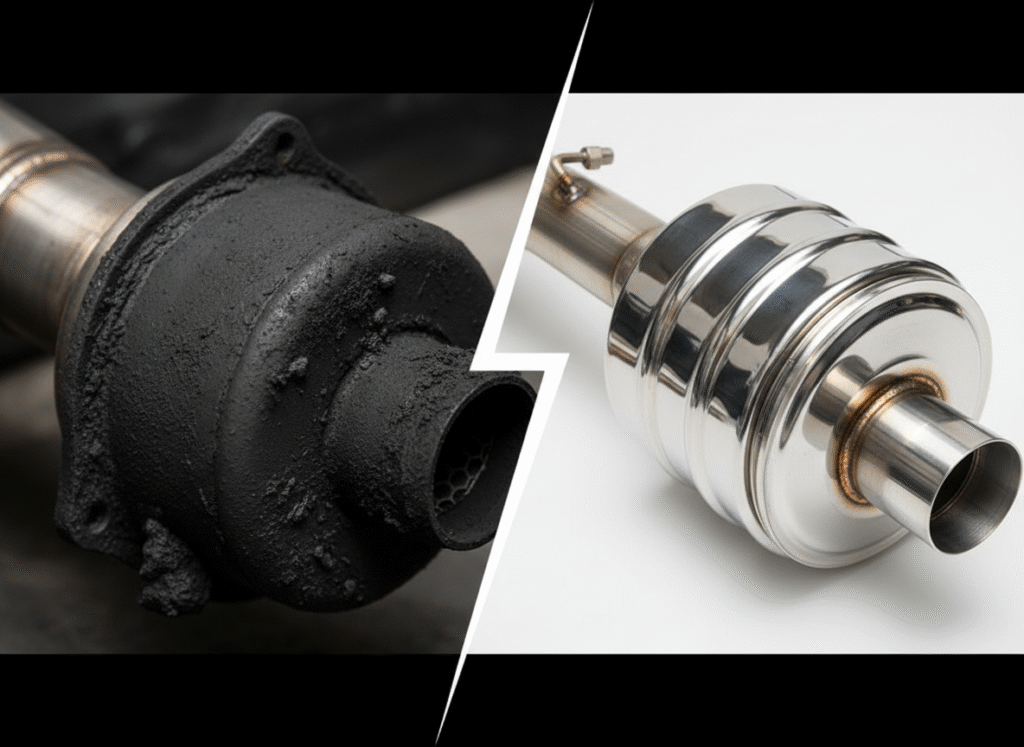
- Malfunctioning Catalytic Converter The catalytic converter reduces harmful emissions. If it’s not functioning properly, your vehicle may fail an emissions test and lose performance.
- Worn Spark Plugs or Ignition Coils Spark plugs ignite the air-fuel mixture in the engine. Faulty plugs or ignition coils can lead to misfires, poor performance, and higher fuel consumption.
- Issues with the Mass Airflow Sensor The mass airflow sensor measures the amount of air entering the engine to ensure the proper air-fuel mixture. Faults here can cause rough idling, stalling, or reduced fuel economy.
- Failed Emissions System Components Problems with the EGR valve, charcoal canister, or other emissions-related components can also trigger the check engine light.
Steps to Take When the Check Engine Light Comes On
If your check engine light illuminates, don’t panic. Follow these steps to address the issue:
- Inspect the Gas Cap Check whether the gas cap is loose, damaged, or missing. Tighten it securely and see if the light turns off after a few drives.
- Observe Vehicle Performance Monitor how your car behaves. If it’s running smoothly with no unusual noises or smells, the issue may not be urgent. However, if you notice rough idling, reduced power, or stalling, seek professional help immediately.
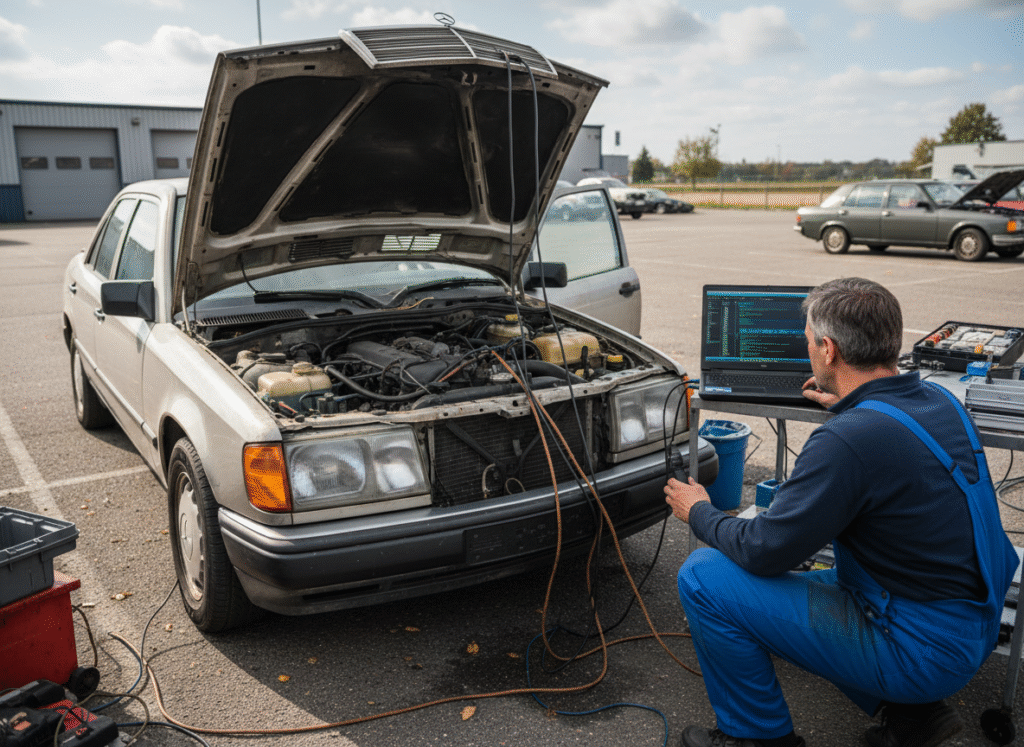
- Use an OBD-II Scanner Purchase or borrow an OBD-II scanner to retrieve the diagnostic trouble codes (DTCs) stored in your car’s system. These codes will pinpoint the source of the problem.
- Consult the Owner’s Manual Refer to your vehicle’s manual to interpret the codes and understand what they mean for your specific make and model.
- Visit a Mechanic If you can’t resolve the issue yourself, take your car to a qualified mechanic or dealership. They have advanced diagnostic tools to identify and fix the problem.
How to Reset the Check Engine Light
Once the underlying issue is resolved, the check engine light should turn off on its own after several driving cycles. However, if it remains on, you can manually reset it using these methods:
- Using an OBD-II Scanner
- Plug the scanner into the OBD-II port, typically located under the dashboard.
- Turn on the ignition without starting the engine.
- Follow the scanner’s instructions to clear the codes.
- Start the vehicle to confirm the light has turned off.
- Disconnecting the Battery
- Turn off the engine and disconnect the negative battery terminal.
- Wait 10-15 minutes to allow the system to reset.
- Reconnect the terminal and start the car.
- Note: This method may erase other system settings, such as clock and radio presets.
- Drive Cycle Reset
- Drive the car under various conditions (e.g., highway and city driving) for a few days.
- The light may turn off automatically as the system verifies the issue has been resolved.
Preventing the Check Engine Light
Regular maintenance and good driving habits can help prevent the check engine light from appearing. Here are some tips:
- Keep Up with Routine Maintenance
- Replace spark plugs, air filters, and oxygen sensors as your vehicle’s manufacturer recommends.
- Perform regular oil changes and ensure proper fluid levels.
- Use Quality Fuel
- Opt for high-quality fuel to prevent clogging and deposits in the fuel system.
- Inspect the Gas Cap
- Ensure the gas cap is always tightened securely after refueling.
- Address Minor Issues Promptly
- Don’t ignore small problems; they can escalate into more significant issues over time.
- Monitor Performance
- Stay attentive to changes in your car’s behavior, such as reduced fuel efficiency, rough idling, or unusual noises.
When to Seek Professional Help
While some issues can be resolved at home, others require the expertise of a professional. Seek help if:
- The check engine light is flashing.
- You’re unable to identify or fix the problem.
- The car exhibits significant performance issues, such as stalling or reduced power.
- You lack the tools or knowledge to handle repairs safely.
Conclusion
The check engine light is a vital warning system that should never be ignored. Understanding its significance and knowing how to respond can save you time, money, and potential headaches. Whether it’s a simple fix like tightening the gas cap or a more complex repair involving engine components, addressing the issue promptly ensures your vehicle remains in top condition.
For advanced diagnostics or performance upgrades, consider consulting specialists like Leicester Remaps. With professional expertise in vehicle remapping and diagnostics, they can help optimize your car’s performance and keep it running smoothly. Visit Leicester Remaps for more information.